Setting up ticketing software for museum is simple: choose a museum-focused platform, create your account, configure your ticket types and pricing, integrate a payment gateway, and install booking widgets on your website and counters. Today’s museum ticketing software solutions are cloud-based and require no IT team, perfect for first-time users.
Why Museums Need Ticketing Software (And How to Set It Up Without Tech Skills)
If you’re running a museum and still managing ticket sales manually, you’re missing out on simpler operations and happier visitors.
Museum ticketing software helps you:
- Sell tickets online and at your museum entrance
- Offer timed-entry, group bookings, and special passes
- Streamline visitor flow and reduce wait times
- Access real-time sales and visitor reports—no spreadsheets needed
But here’s the common roadblock: setting it up feels overwhelming.
Many museums hesitate because:
- They don’t have a dedicated IT team
- They’re worried about installing complex software
- They’re afraid of making errors during setup
This guide breaks down the entire museum ticketing software setup into simple, non-technical steps.
Do You Know?
Over 60% of museums worldwide now offer digital ticketing helping them cut wait times by 30% and boost visitor satisfaction.
Step 1: Choose Best Ticketing Software for Museum
The first and most important step is choosing the right ticketing software for your museum.
Not every ticketing tool fits a museum’s unique needs. Unlike event ticketing platforms built for concerts or sports, museum ticketing software must support features like timed entries, group bookings, exhibitions, and member passes.
Key Features to Look For in Museum Ticketing Software
When evaluating options, make sure your platform includes:
- Timed Entry and Capacity Management: Control how many visitors enter during each time slot to prevent overcrowding.
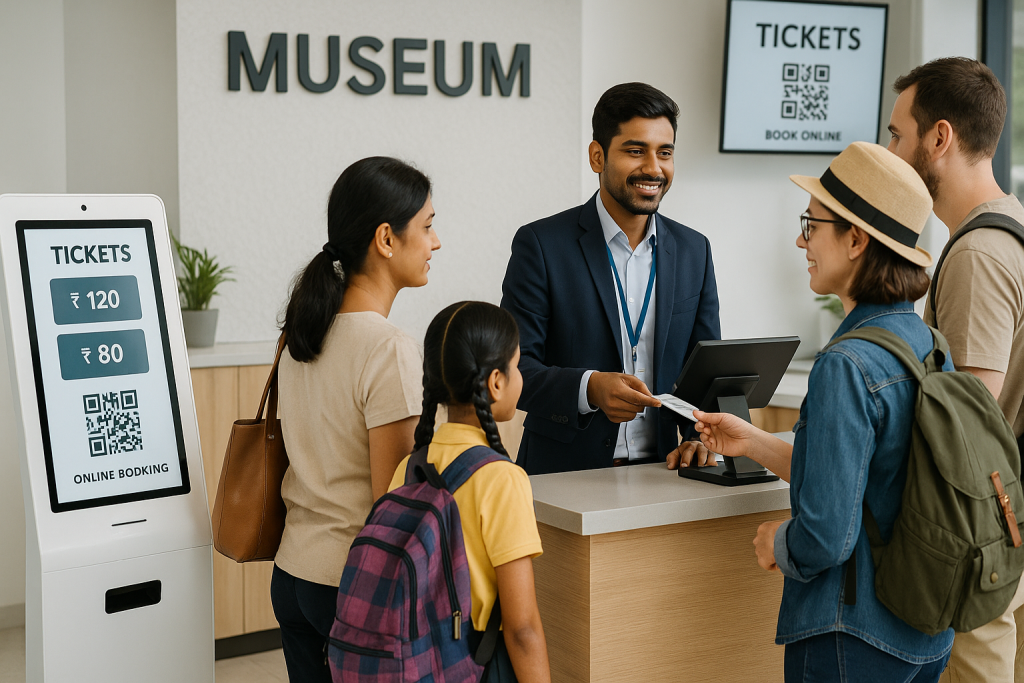
- Online & On-Site Ticket Sales: Sell tickets from your website, on mobile, and at your front desk or kiosks.
- Custom Ticket Types: Offer general admission, special exhibition tickets, group discounts, school visits, and memberships.
- Integrated Payments: Accept digital payments easily through Stripe, Razorpay, PayPal, or local gateways.
- Real-Time Reporting: Track sales, cancellations, and visitor trends in one dashboard.
- Website Integration: Simple widgets or APIs to embed the booking flow onto your museum’s website without coding.
- Easy Staff Use: Your front desk team should be able to sell, refund, or check in visitors in just a few clicks.
- Cloud-Based: So you don’t need servers or complicated software installations.
Cloud-Based vs. Installed Software
Most modern museum ticketing solutions for museums are cloud-based. That means:
- No installation on your local computers
- Automatic updates and backups
- Access from anywhere via your browser
Avoid old-school software that requires on-premise installation unless you have a dedicated IT team.
Tip: Start with a free trial or demo account. It’s the fastest way to explore whether the platform fits your museum’s workflow.
Once your platform is selected, it’s time to create your account and start the setup process.
Step 2: Sign Up and Set Up Your Museum Profile
Once you’ve chosen your museum ticketing software, setting up your account is easy and takes just a few minutes.
Most platforms guide you through a step-by-step onboarding process. No technical knowledge is needed just fill in your museum’s basic details.
Add Your Museum Information:
- Museum Name & Logo: This branding will appear on your digital tickets and checkout pages.
- Contact Information: Email, phone number, and support contact details.
- Location & Timezone: So your system automatically adjusts ticket timings.
- Tax Settings: Add your GST, VAT, or local tax details to ensure invoices comply with regulations.
Customize Your Branding
Your ticketing system for museums should reflect your brand identity:
- Set brand colors for your booking pages.
- Upload banners or exhibition images.
- Customize the confirmation emails and e-tickets with your museum’s voice.
User Accounts & Permissions
If you have a team, assign roles:
- Admin: Full access to all settings.
- Cashier/Front Desk: Limited access for ticket sales and visitor check-in.
- Finance: Reporting and revenue dashboards.
Most museum ticketing platforms allow you to manage staff access easily without IT intervention.
Example Setup Flow (Cloud-Based Platforms):
- Go to the provider’s website (e.g., EveryTicket.in)
- Click “Start Free Trial” or “Sign Up”
- Fill in your museum’s name, email, and phone
- Add your first venue or location details
- Choose your default language and currency
⏱️ Total time: About 10-15 minutes.
Pro Tip: Complete your profile before moving to ticket configuration. This ensures your branding and tax settings are applied to every sale automatically.
Your profile is ready—next, let’s configure your ticket types and pricing.
Step 3: Configure Ticket Types, Pricing & Discounts
Now that your museum profile is set up, it’s time to define what tickets you’ll sell and how much they’ll cost. This is where your ticketing system becomes truly customized for your museum.
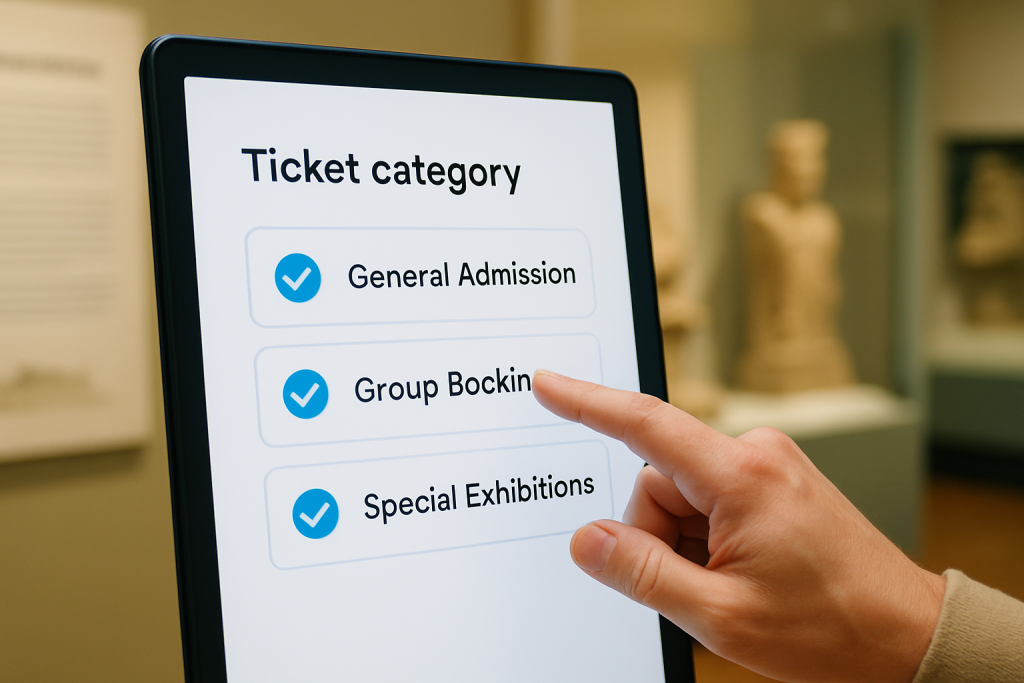
Common Ticket Types for Museums
Set up the different visitor categories and events you offer. Typical options include:
- General Admission: Standard entry for individuals.
- Senior / Child / Student Discounts: Special pricing for specific visitor groups.
- Group Bookings: Schools, corporate tours, or travel groups.
- Memberships: For repeat visitors with yearly passes.
- Special Exhibitions: Paid events with separate access.
- Workshops & Events: Optional add-ons for experiences beyond entry.
Setting Ticket Pricing
Most museum ticketing platforms allow you to:
- Set base prices (e.g., ₹200 for adults, ₹100 for students)
- Add taxes automatically based on your setup
- Offer free tickets for promotional events
Add Time Slots (If Needed)
For crowd control, configure timed entry slots like:
- 10:00 AM – 11:00 AM (50 visitors max)
- 11:00 AM – 12:00 PM (50 visitors max)
This prevents overcrowding and creates a smoother visitor experience.
Discount Codes & Promotions
Want to attract more visitors? Add promo codes for:
- Off-peak hours
- Special days (International Museum Day, local festivals)
- Partner promotions or group deals
Tip: Start simple. You can always add more complex ticket categories or discounts later as your needs grow.
Once your tickets are configured, it’s time to set up payments.
Step 4: Integrate Payment Gateways (No Developer Needed)
To sell tickets online, you’ll need to connect a payment gateway. This allows your museum to accept digital payments—credit cards, UPI, wallets, and more.
Popular Payment Gateways for Museums
Most museum ticketing software integrates with:
- Stripe: Great for global payments
- Razorpay: Ideal for Indian museums, supports UPI & wallets
- PayPal: For international transactions
How to Set Up Payments
The setup process is usually no-code:
- Go to the “Payments” section of your ticketing platform.
- Select your preferred payment gateway (e.g., Razorpay).
- Enter your merchant account details (API key, secret).
- Test a sample transaction.
That’s it—you’re ready to accept payments both online and on-site.
What About Cash or Counter Sales?
If your museum still accepts cash, your ticketing platform can also handle:
- Cash payments at the front desk
- Card swipe machines (POS)
- Self-service kiosks for touch-free purchases
Bonus: All sales online or offline are tracked in the same dashboard.
Tip: Always test your payment flow with a small ₹1 test ticket before launching live bookings.
Now that payments are ready, let’s add the ticketing flow to your website and kiosks.
Step 5: Deploy on Website, POS Counters, and Self-service Kiosks
Your ticketing system is almost ready. Now it’s time to make it live for visitors.
Add Online Booking to Your Website
Most museum ticketing platforms offer simple website integration:
- Booking Button: Add a “Book Tickets” button that opens your ticketing page.
- Embedded Widget: Show the ticket selection directly on your website without redirecting visitors.
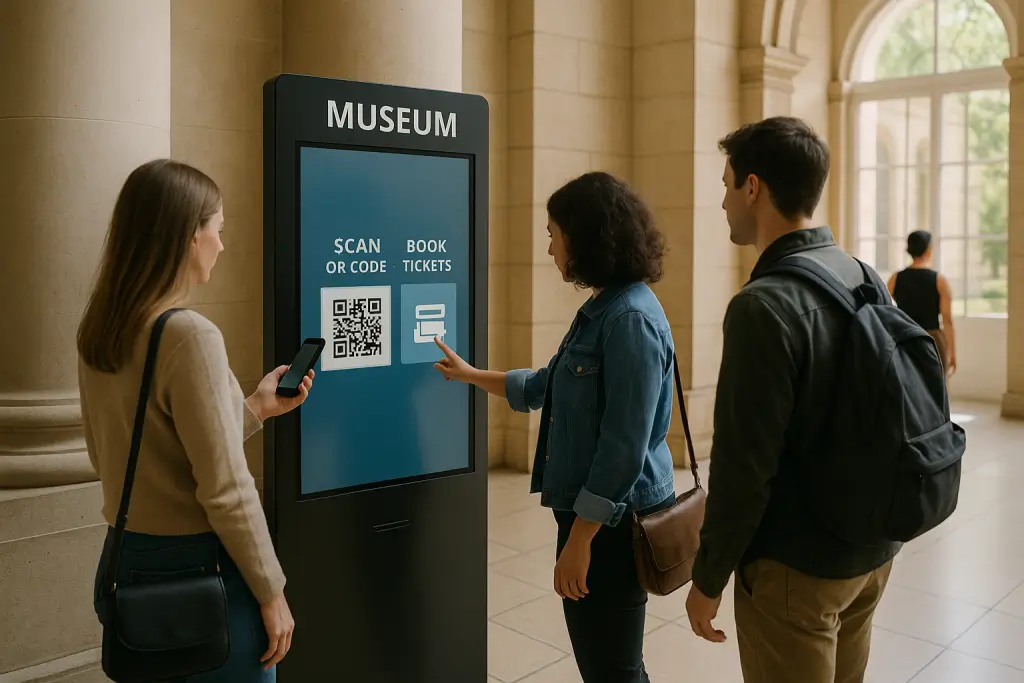
- QR Code for Mobile: Display a QR code at the entrance or on marketing materials that links to your booking page.
No technical coding is needed just copy and paste the widget code or link provided by your platform.
Set Up POS (Point-of-Sale) Counters
If your museum sells tickets at the entrance:
- Use a POS system (tablet, PC, or mobile) to issue walk-in tickets.
- Accept cash, card, or QR payments.
- Print physical tickets or send e-tickets by SMS or email.
Enable Self-Service Kiosks (Optional but Recommended)
For faster check-ins and fewer queues:
- Set up a kiosk where visitors can purchase their own tickets.
- Use a tablet + printer setup or a touch-screen kiosk.
Many museums in India are adopting kiosks to improve visitor flow during weekends and holidays.
Tip: Place the booking link on your Google Business profile and social media pages for maximum reach.
Your ticketing system is now publicly accessible. Before launch day, let’s test everything.
Step 6: Test Your Setup Before You Go Live
Before announcing your new ticketing system to the world, it’s critical to test the entire flow. This ensures your visitors have a smooth experience from booking to entry.
What to Test in Your Museum Ticketing Software Setup
- Online Booking: Try booking a ticket from your website or booking link.
- Payment Processing: Complete a test payment and ensure the amount is reflected correctly.
- Ticket Delivery: Check if the e-ticket or SMS confirmation is delivered instantly.
- On-Site Sales: Simulate a walk-in visitor and sell a ticket at the POS counter.
- Self-service Kiosk: Purchase a ticket from the kiosk (if you’ve set one up).
- Check-in Process: Scan a visitor’s ticket at the entrance using a QR code scanner or mobile app.
- Cancellations & Refunds: Test what happens when a ticket is canceled—refund process and seat availability.
Recommended Testing Checklist
| Test Area | Expected Outcome |
|---|---|
| Online purchase flow | Booking completes in < 2 minutes |
| Payment success | Email/SMS confirmation instantly sent |
| Walk-in ticket sale | Receipt printed and visitor checked in |
| Kiosk purchase | Smooth self-service flow |
| Refund process | Money refunded within 5-7 working days |
Tip: Test with multiple team members and devices to catch edge cases before visitors face them.
Once everything works smoothly, you’re ready to train your staff and launch.
Step 7: Train Your Staff for Day-to-Day Operations
Even the best museum ticketing software is only as effective as the people using it. Spend time training your front desk and operations team to handle ticketing confidently.
Key Training Topics for Museum Staff
- Issuing Tickets: How to sell tickets on the POS or kiosk.
- Processing Refunds: Handling cancellations and issuing refunds.
- Checking In Visitors: Scanning QR codes or looking up visitor names.
- Viewing Sales Reports: Checking daily ticket sales and cash collections.
- Managing Events: Setting up new exhibitions or special events in the system.
Staff Roles & Permissions
Most platforms let you assign user roles:
| Role | Permissions |
|---|---|
| Admin | Full access to all features |
| Front Desk | Sell & check-in tickets only |
| Finance | Access sales reports & refunds |
| Event Lead | Manage exhibitions & event tickets |
Day-to-Day Usage Tips
- Log in each day to monitor ticket sales and visitor flow.
- Ensure the POS counter or kiosk is connected to the internet.
- Regularly update ticket prices or event listings as needed.
- Use real-time dashboards to avoid manual spreadsheets.
Tip: Keep one person responsible for monitoring the sales dashboard during peak seasons.
Now your team and ticketing system are ready. Let’s quickly cover common challenges and solutions.
Common Setup Challenges & Simple Solutions
| Challenge | Solution |
|---|---|
| Confused about the technical setup | Follow step-by-step guided onboarding |
| No in-house IT team | Use no-code, cloud-based ticketing platforms |
| Fear of setup mistakes | Start with a free trial and vendor-led training |
| Unsure about ticket types & pricing | Use pre-built museum templates |
| Trouble integrating with website | Copy-paste booking widgets—no coding required |
What’s Your Next Steps?
Digitizing your museum’s ticketing system may seem like a big step, but it’s actually simple with today’s platforms. Whether you’re a local museum or a growing cultural space, the right museum ticketing software helps you:
- Sell tickets online and on-site
- Simplify daily operations
- Improve visitor experience
Most importantly, you don’t need an IT background to get started. In just a few steps, your museum can go live with a modern ticketing system built for ease of use.
Ready to Make Ticketing Simple?
Fill out the inquiry form and book a free demo with our team — an easy, plug-and-play ticketing software built for museums in India.
FAQs
1. How to install museum ticketing software?
Most modern solutions are cloud-based. You simply create an account—no installation required.
2. Can I set up a ticketing system without an IT team?
Yes. Most platforms are built for non-technical museum admins with guided setups and templates.
3. How do I use the ticketing software daily?
Your staff will log in to the dashboard to sell tickets, track visitors, and manage events—all in one place.
4. What is the best ticketing software for small museums?
Options like EveryTicket offer simple, affordable solutions tailored for small and mid-sized museums.